Are you a novice developer looking to elevate your coding experience in Visual Studio Code (VS Code)? One effective way to achieve this is by personalizing your code editor’s font. In this article, we will guide you the process to install fonts in VS Code to create a more tailored and appealing coding environment.
But Before diving into the installation process, let’s understand why choosing the right font is crucial for developers. The font you select plays a vital role in determining how you interact with your code. It affects readability, which directly impacts your coding speed and accuracy. A visually appealing font not only makes your code more enjoyable to work with but also improves focus and concentration. Moreover, a consistent and legible font ensures smooth collaboration when sharing code with colleagues or on open-source platforms. So Let’s Begin!
Step One: Download the Ideal Font
Numerous high-quality fonts are available in Git repositories for free. Among the many options, we highly recommend the widely preferred “Cascadia Code” font, which also happens to be my personal favorite.

To download the font, follow these steps:
- Visit the Git repository here.
- Look for the most recent release of the “Cascadia Code” font and download the zip file.
- Once the download is complete, you will have a zip file containing the font on your computer.
Step Two: Install the Font in PC
After downloading the font, proceed with the installation process:
- Locate the downloaded zip file on your computer.
- Extract the contents of the zip file to reveal the font files.
- Open the “ttf” folder.
- Right-click on all font files and select “Install” to add the font to your system’s font library.
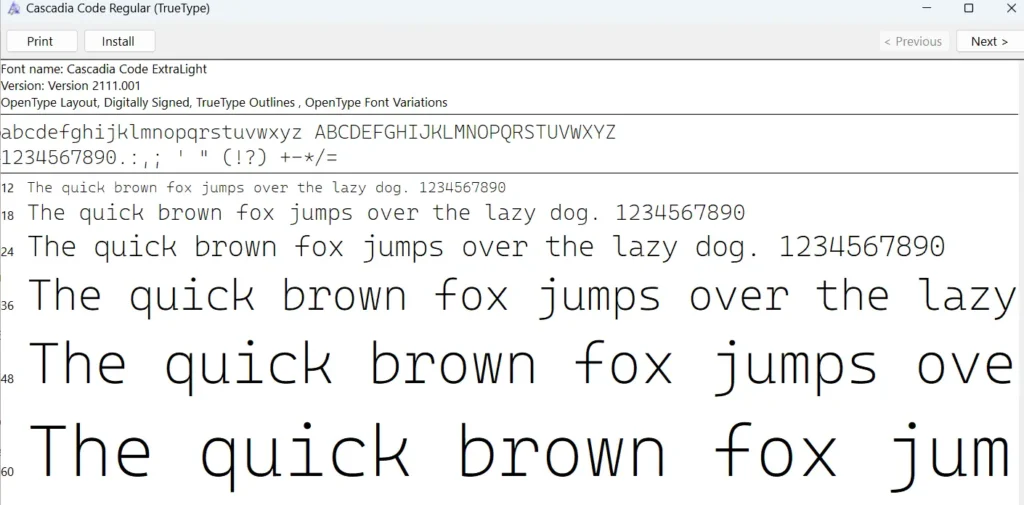
5. Congratulations! You have now successfully installed the “Cascadia Code” font on your computer.
Step Three: Configure/Install the Font in VS Code
Now that the font is installed on your computer, let’s apply it to your VS Code editor. Follow these instructions:
- Launch Visual Studio Code on your computer.
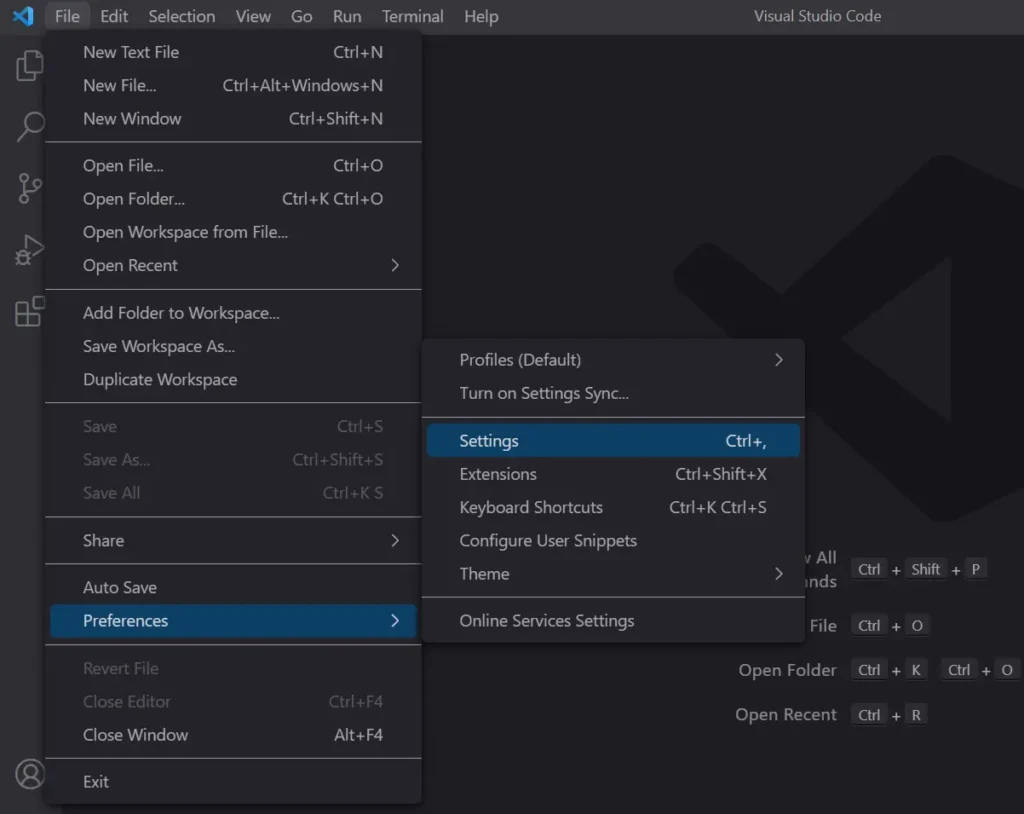
- In the VS Code editor, navigate to “File” > “Preferences” > “Settings.”
- In the search bar, type “font” to find the font-related settings.
- Look for the “Font: Family” setting, which allows you to specify the font to be used in the editor.
- Enter the name of the newly downloaded font, “Cascadia Code,” before other default fonts.
- Voila! You have successfully customized your VS Code editor’s font.
or you can do following steps too:
- Press “Ctrl + Shift + P” (Windows/Linux) or “Cmd + Shift + P” (macOS) to open the command palette.
- Type “Preferences: Open Settings (JSON)” and press Enter.
- In the “settings.json” file, add the following line:
"editor.fontFamily": "Cascadia Code, monospace",
4. Enter “Cascadia Code” which would be the name of the font you installed.
5. Save the file and close it.
Please note that sometimes changes in font settings may require you to restart your computer for the changes to take full effect.
Bonus Tip: Enable Font Ligatures
If you want to take your font customization one step further and make your code even more visually appealing, consider enabling font ligatures. Font ligatures are unique characters that combine multiple letters or symbols into a single, aesthetically pleasing glyph. Many developers find this feature enhances the readability of their code.
To enable font ligatures in VS Code:
- Go to “File” > “Preferences” > “Settings” again.
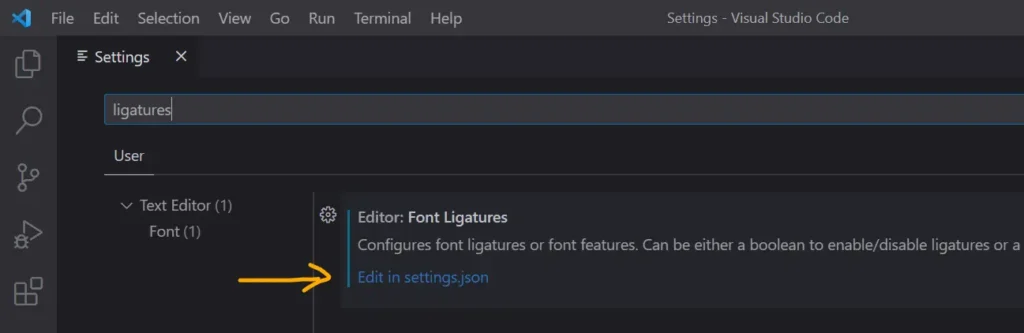
- In the search bar, type “ligatures” to find the related settings.
- Click on Edit in settings.json
- Click on the “Editor: Font Ligatures” setting and set it to “True” if it’s not by default.
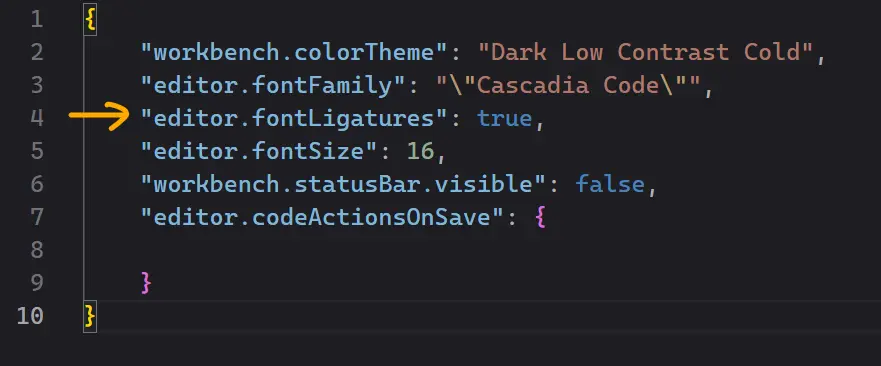
Now, your code will be displayed with beautiful font ligatures, elevating your coding experience to new heights.
Similar fonts
Other similar fonts mostly used by the developers in VS Code is “Fira Code“. You can easily search for it on Google Fonts. The process of installation is same as above.
Conclusion
While the default VS Code font is functional, customizing it with a font of your choice can significantly enhance your coding environment. The “Cascadia Code” font, along with font ligatures, can make you feel more at home in your code editor and inject a fresh dose of excitement into your coding sessions. So, That’s all about install fonts in VS Code. Now go ahead, follow the steps, and Happy Coding!
